These pumpkins are easy to make and are absolutely adorable anywhere you chose to decorate with them. And it all starts with a foam pumpkin, which I pick up at the dollar store, and some yarn.


I bought my yarn at Hobby Lobby. I picked it because I liked it, nothing more. There is no certain type or texture that is needed. As you can see from the picture above, they are different brands and textures, so pick what you like.
 .
. 
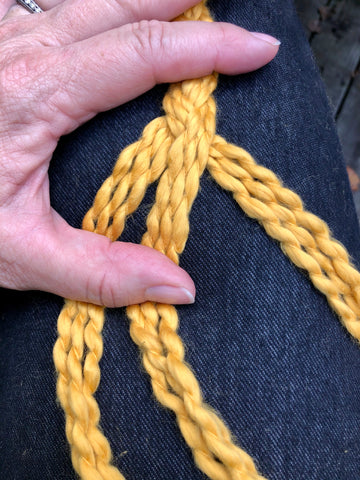
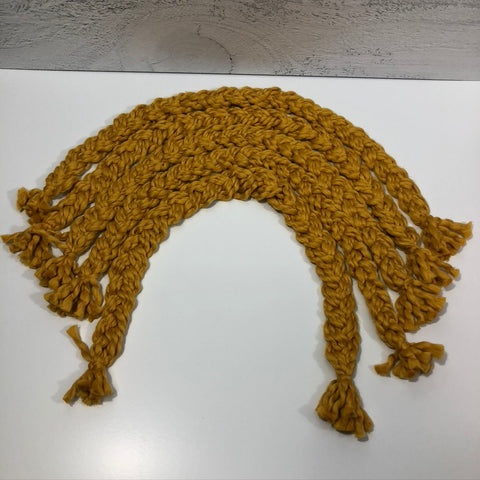
You will need to create 12 braids. Cut your first piece 26 inches long. Each braid will need to contain 9 strands. See the picture above. Braid so that the braid lays flat, this will make it lay down on the pumpkin easier.
 .
. 
Cut a hole in the top of the pumpkin. The green stem pulls right off and a hole is easy to cut with a kitchen knife. Wrap your first braid around and insert your ends in the hole you created. Each braid you wrap should go beneath this first braid, as seen in the picture above. Continue wrapping the braids until all of the pumpkin is covered.
 .
. 
The hole in the pumpkin will get tighter as you stuff the ends of the braids into it. This is what you want. Now it is time for a stem and other decorative pieces. I used a bit of greenery I had for leaves and some floral wire to give the look of old vines still attached. The stem was from a branch that fell from one of our trees. You could also use a wine cork and something you purchase at a craft store.

I hope this helps you create a few farmhouse pumpkins to add to your home decor or give as gifts to family and friends.
All my best and happy crafting.
Marylynne
Hi! I’m Brianna. I am just on your website right now and I just KNOW that we can get you LOTS of new customers. Visit www.enkaiyo.com for details on this special offer TODAY for customers including you, if you want to start getting new customers TODAY, get 1 Year FREE and 50% Off just by going to www.enkaiyo.com/50off.html – Let me know! Brianna
wNxqiEDBSCTg
QYasHOtECKrDLB
IVhqDTpExLAvkir
aXigIZfJdukMjo